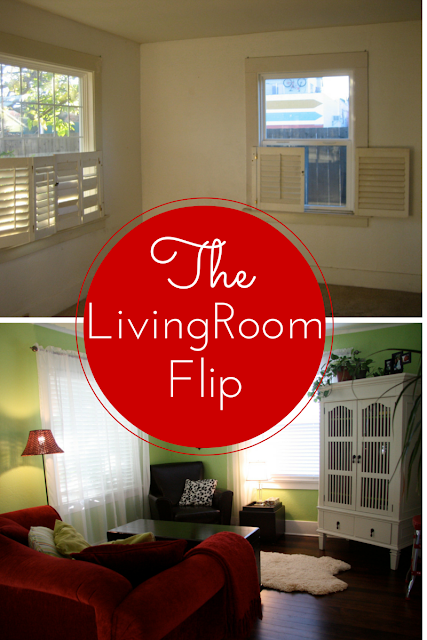
Don't be too afraid of the "before" photos!
As with the rest of this little house, when we first bought the home the kitchen was disgusting!
The little two-bedroom had been a student rental, with anywhere from 6-8 men sharing it at one time. It had seen a lot of parties, and very few cleanings (if any)!
But, hidden underneath all of the grime was it's original 1928 charm!
Some "Before" Photos:
 |
| Original cold storage "before" |
 |
| Stove area "before" |
While others were apparently able to function in this kitchen, I couldn't! Unfortunately, it wasn't in our immediate budget to remodel this room. But with a little creativity we did make some quick changes.
The very first thing we did was clean! Then, the next step was to paint. I painted every surface except for the tile and the floor. I chose a soft yellow for two walls, and used "ultra pure bright white" (right off the shelf) for the rest.
We were on a budget and I wanted to stick with a retro look, so we decided to go with a checkerboard pattern for the floor.
The most economical and easiest solution was to go over the existing linoleum. I found these peel and stick floor tiles on ebay. They were inexpensive and easy to apply. All you need is a box cutter, straight edge and a clean surface to stick them to.
The next step was a "splurge"on a new refrigerator. Yes, people had been living with this old one:
The old refrigerator was blocking a window, which I didn't want. In order to make room for the new refrigerator in a different location we had to remove one upper cabinet.
 |
| Before |
 |
| After |
We purchased the cheapest stainless steel "looking" refrigerator available at Sears. While it wasn't fancy, it did drastically improve the look (and smell!) of the room. We also added simple touches like this reproduction wall clock:
*A side not about the "legs" also pictured above: Yes, I do have nice legs, thank you very much! These came from a friend who used to work at Victoria Secret they were displays). But, these can be yours too, if you have a sense of humor like I do!
The next step was to replace the cruddy old range. The Goodwill was happy to come remove it for us for free. Check your local store to see if they offer this service.
Then, we found a classic used range on Craigslist. It needed some cleaning too!
 |
| Before |
 |
| After |
For a more in depth post on this range, and how I made it gleam, please see this post.
To create more storage space in this small kitchen we hung a heavy duty pot rack above the "new" range. In a small space, all possible wall space. Think about adding shelves, racks or even hooks anywhere you can.
 |
| Before |
 |
| After |
Using the strip of red tile as my guide, I added red accents. For example, I added the Fiestaware pitcher (see Amazon link below), a curtain on a tension rod (to block the plumbing), and a red butter dish. Then we switched out the old leaky faucet, and painted some of the trim black (where someone had hacked at it with an axe!).
I also replaced the cabinet hardware with drawer pulls I found on sale at Restoration Hardware. It pays to not be too picky, and to shop sales! These were "polished nickel" and while they weren't an exact match to the chrome in the room, they were VERY close.
If you are going for the retro look, another one of my favorite websites to purchase hardware is Rejuvenation.com. Sometimes they also have great sales!
Lastly we added a few flea market finds, like an old breadbox, a chair and a red rolling cart. We also hung these sturdy Ikea shelves.
About a year later we did eventually remodel this room, replacing the cabinetry and making bigger changes. But, I thought it would be important first to show how easily and inexpensively a room can go from "gross" to "cute".
For details on the big remodel of this room, please stay turned for a future post!
Also, for more posts about the transformation of this bungalow, see these other posts:

Linking up to these fun parties:
http://thefoleyfam.com/2015/05/sunday-funday-link-up-127-features.html
http://sewmanyways.blogspot.com/2015/05/sew-darn-crafty-link-up-party_31.html
http://www.flourmewithlove.com/2015/05/mix-it-up-monday-blog-party.html
http://carriethishome.com/2015/05/easy-summer-diy-projects-frugal-crafty-home-blog-hop-130/
http://www.raegunramblings.com/2015/05/diy-pillow-cases.html
http://www.sewcando.com/2015/05/junes-first-craftastic-monday-link-party.html
http://www.titicrafty.com/2015/05/bewitchin-projects-block-party-100/
http://diyshowoff.com/category/other/that-diy-party/.
http://madincrafts.com/mad-skills-party-261/
http://www.skiptomylou.org/2015/06/01/made-by-you-monday-241/
http://strangersandpilgrimsonearth.blogspot.com/2015/06/the-art-of-home-making-mondays-please.html
http://myuncommonsliceofsuburbia.com/inspire-me-monday-62/
http://www.abowlfulloflemons.net/2015/06/one-project-at-a-time-june-2015.html
http://www.tipjunkie.com/post/tip-me-tuesday-happy-crafters-share-6-2/
http://cornerstoneconfessions.com/2015/06/titus-2-tuesday-158.html
http://www.sugarbeecrafts.com/2015/06/show-and-tell-link-party-time-12.html
http://thecraftyblogstalker.com/create-link-inspire-linky-party-79/
http://www.carolynshomework.com/2015/06/the-inspiration-board-creative-party.html
http://ladybug-blessings.com/?p=5823


