When we bought our house, I knew that I would eventually change many aspects of the home, this bathroom included. Then a plumbing leak mandated that it was time to dive into a bathroom makeover!

As with every house project I take on, my aim was to keep costs low without sacrificing style.
Because of the plumbing problem however, this time it would have to be an actual "remodel" (as opposed to the cosmetic changes I made with much of the rest of the house).
Basically, I couldn't just cover up tattered surfaces surfaces this time, everything actually had to come out!

First Things First; Wallpaper
Now, don't get me wrong, I LOVE birds...But I don't love them on old peeling wallpaper. It had to go.

The best method for removing wallpaper:
-First, I pulled off any paper that was already loose using just my hands. Luckily I was able to get most of the top layer off this way.
-Second, I made a mixture of 2 parts hot water, 1 part liquid fabric softener, and 2 parts white vinegar.
-Third, I used a rag to liberally apply this mixture to the wall.
-Last, (after letting the mixture sit for a few minutes) I used a paint scraper to scrape off any remaining glue and paper.
Removing wallpaper is never an easy job, but it's worth the pay off! If you have kids, put them to work too. Mine LOVED taking the paper off the walls!


Demolition
This is pretty self explanatory.
Chip away old tile, cut away wood rot and remove any moldy sheetrock. This is a fun way to put your trusty sledgehammer to use!

We had to take it down to the studs and floor joists in some places due to water damage. However, if the "bones" of your bathroom are still in good condition, you can probably get away with leaving the sheetrock and subfloor. Just be sure to check the shower pan, they can be a common place for leaks.

Add In The New
Before too long it was time for to start adding new elements back into the room. We started with the tub.
The old tub was shot, so we opted for a new cast iron tub that is wider and taller than the old one.

It was super heavy, and getting it into the space wasn't easy, but they did it! Next up, tile...
Since I wasn't too keen on the "before" tile, we went with something different.
 |
| Tile Before |
 |
| Close up of tile "before" |
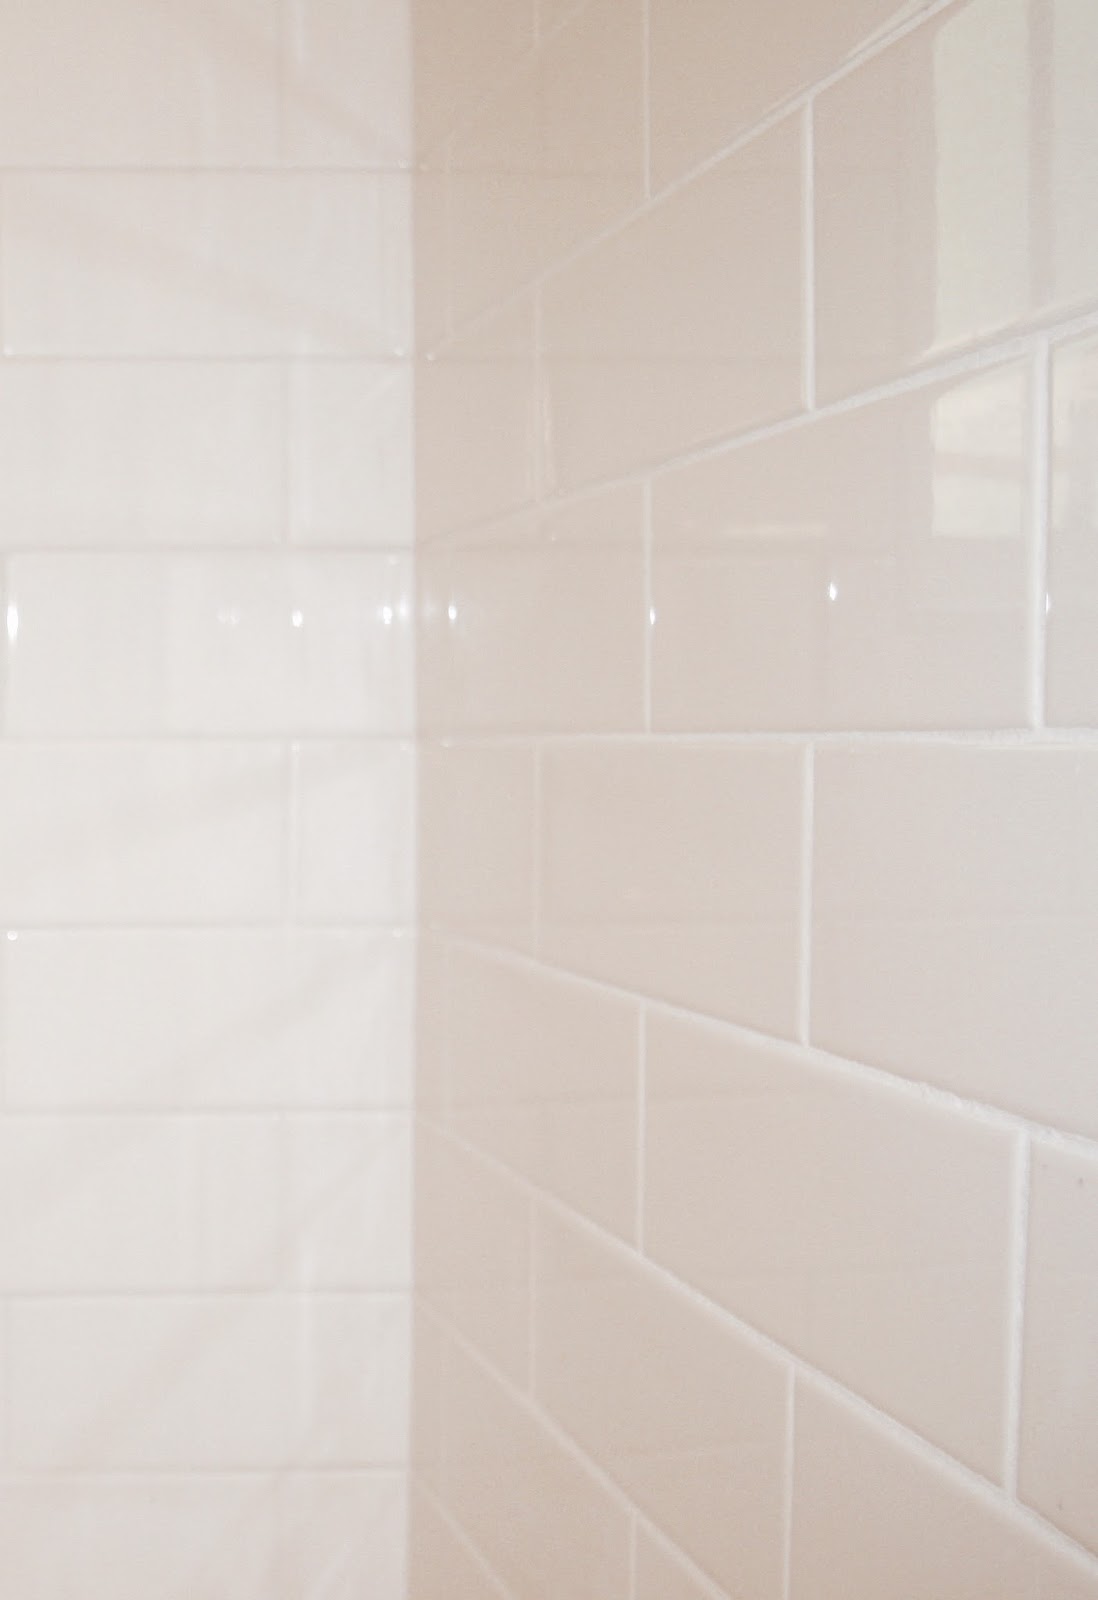
For a dramatic feel, we ran the tile tub-surround around the window, and all the way up to the ceiling.
We just went with "ice white" from Home Depot. It was cheap and easy! Then we finished off the clean look with a self sealing white grout.
Soon it was time for the floor.
Flooring
The original bathroom floor was tile. But the subfloor underneath was rotten, so it had to go. If you would like to salvage your tile floor, but don't like the color, try painting it! (See link below for product info). It works miracles! I had used it on this floor the year before, to disguise the old tile.
Again to keep costs low we went with an inexpensive and easy to install floor. The very cheapest flooring option in a single slab of laminate, but I don't care for that look. So instead we went a step up and used a self adhesive "snap together" flooring.
*Also note that, even small changes like the updating the color of the metal strip between the carpet and bathroom floor (from gold to silver) can update a house.
 |
| After |
We just went with "ice white" from Home Depot. It was cheap and easy! Then we finished off the clean look with a self sealing white grout.
 |
| After |
Soon it was time for the floor.
Flooring
The original bathroom floor was tile. But the subfloor underneath was rotten, so it had to go. If you would like to salvage your tile floor, but don't like the color, try painting it! (See link below for product info). It works miracles! I had used it on this floor the year before, to disguise the old tile.
 |
| (Painted) Floor Before |
Again to keep costs low we went with an inexpensive and easy to install floor. The very cheapest flooring option in a single slab of laminate, but I don't care for that look. So instead we went a step up and used a self adhesive "snap together" flooring.
 |
| After |
*Also note that, even small changes like the updating the color of the metal strip between the carpet and bathroom floor (from gold to silver) can update a house.


This floor went in quickly and easily. After installation we were careful to calk every corner or seam that was near a water source. This is very important, especially if you have kids like mine, who enjoy splashing in the tub!
A New Vanity
Because we needed to select everything in just one shopping trip (the one day that we had a babysitter!) we also ordered the vanity from Home Depot. I did see it for a little less elsewhere though (including on overstock.com).
 |
| Old Vanity, Before |
I wanted to be choosy about the countertop, we chose a model that didn't come with a top. But, many do come with a top and sink all ready to go, and they are quite nice. To save on labor costs measure carefully and do your best not to have to move the plumbing.
 |
| After |
I chose a single facet (instead of one with handles) with sleek lines. A streamlined faucet is easier to clean and makes the space feel modern.
 |
| Before |
 |
| After |
I went with a brushed nickel finish. Oil Rubbed Bronze hardware is lovely. But it's very trendy right now, and I think it is more likely to eventually look dated than classic chrome or nickel.
For continuity, ensure that all of the hardware in your bathroom is made from the same metal (drawer pulls and light fixtures, and faucets).
Adding in More Elements
Both the light fixture and the mirror were original. They were circa 1972, so they were not quite old enough to be back in fashion again. They had to go!
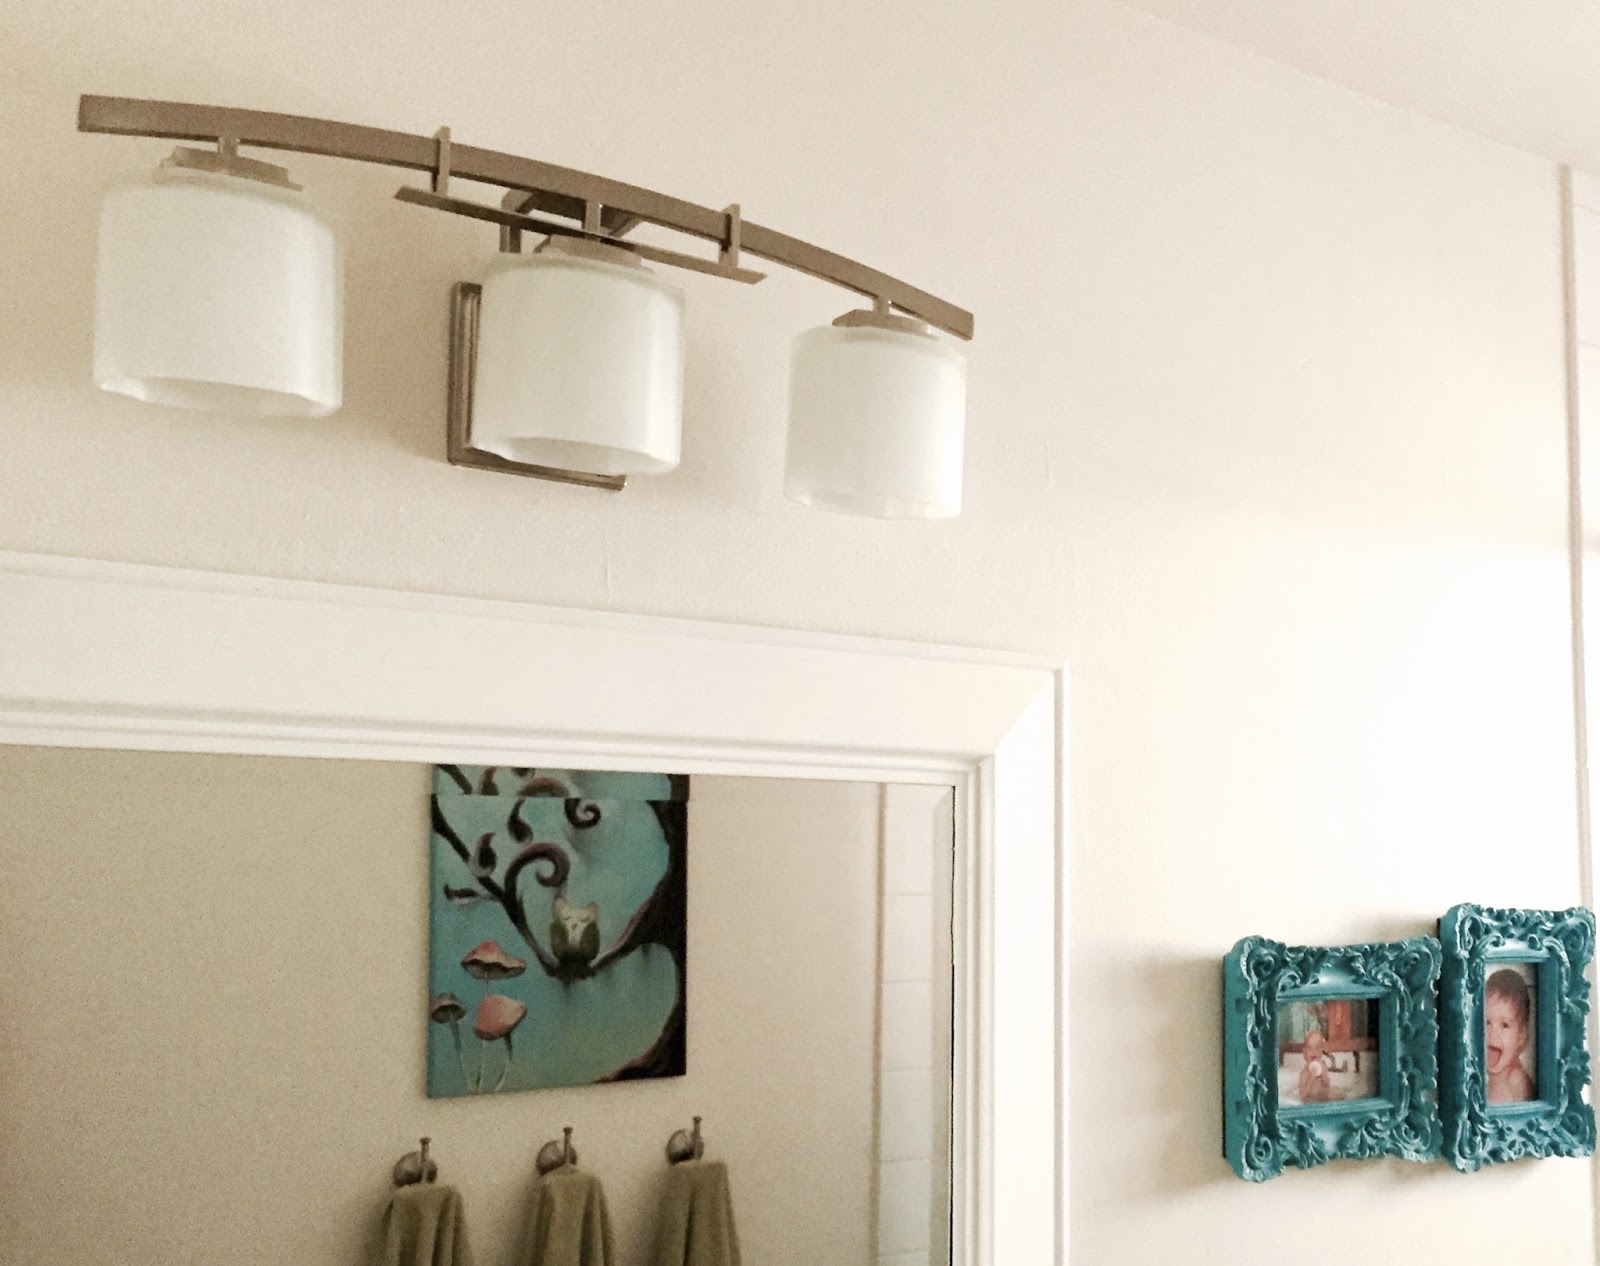
We chose a nice new light fixture that matched the rest of the hardware and installed it in the same location.
I found an inexpensive beveled edged mirror at a discount store (Ross) for about $40. The frame was gold, so I painted it with matte finish chalk paint (find the cheap brand here, or the original chalk paint here).
We also replaced the old shutter style medicine cabinet with a new mirrored one. Mirrors are always your friends! They read like a window, brightening and enlarging any space. So it can be beneficial to use them whenever possible!
Just one thing to keep in mind... open the package and check your mirror before leaving the store. We had to exchange this one because the first one came with a chip. This is the second time that has happened to me with a Home Depot mirror.
Keep it Simple
I like to change up my decor often. So, as you can see from these photos, the most costly changes we made in the bathroom are all subtle in their coloring. We used a lot of white. This way I can easily add color with things like towels, shower curtains and rugs. These are simple things to switch out if I decide that I eventually want a different look. Fresh towels and a new shower curtain (for example) can totally change the look of a room, with only a minimal amount of work on your part.
Adding in More Elements
Both the light fixture and the mirror were original. They were circa 1972, so they were not quite old enough to be back in fashion again. They had to go!
 |
| Before |
We chose a nice new light fixture that matched the rest of the hardware and installed it in the same location.
 |
| After |
I found an inexpensive beveled edged mirror at a discount store (Ross) for about $40. The frame was gold, so I painted it with matte finish chalk paint (find the cheap brand here, or the original chalk paint here).
 |
| Before |
We also replaced the old shutter style medicine cabinet with a new mirrored one. Mirrors are always your friends! They read like a window, brightening and enlarging any space. So it can be beneficial to use them whenever possible!
 |
| After |
 |
| After |
Just one thing to keep in mind... open the package and check your mirror before leaving the store. We had to exchange this one because the first one came with a chip. This is the second time that has happened to me with a Home Depot mirror.
Keep it Simple
I like to change up my decor often. So, as you can see from these photos, the most costly changes we made in the bathroom are all subtle in their coloring. We used a lot of white. This way I can easily add color with things like towels, shower curtains and rugs. These are simple things to switch out if I decide that I eventually want a different look. Fresh towels and a new shower curtain (for example) can totally change the look of a room, with only a minimal amount of work on your part.
This remodel is also less likely to look dated 10 years, because we avoided using overly trendy colors in the big permanent pieces of the room.
One of my favorite ways to create a versatile space is with my go-to paint color.

Adding Finishing Touches
Now came my favorite part!
Gone went the ugly plastic toilet brush and dirty waste basket, and in came new brushed nickel models to match the rest of the metal in the room. I chose this:

One of my favorite ways to create a versatile space is with my go-to paint color.

Benjamin Moore's "Ivory White" (number 925) works EVERYWHERE. I've used it on kitchen cabinets, walls, garage doors and even on furniture. It's the perfect warm white, and goes with everything. So naturally, this was the color I painted the walls.
Paint stores don't always have samples of this color out, but they can mix it for you, just provide them with the brand name and the color ID number.
Then, with a neutral base of whites (walls, vanity, tile and tub) I was free to make bold color choices with my accessories.
Adding Finishing Touches
Now came my favorite part!
Gone went the ugly plastic toilet brush and dirty waste basket, and in came new brushed nickel models to match the rest of the metal in the room. I chose this:

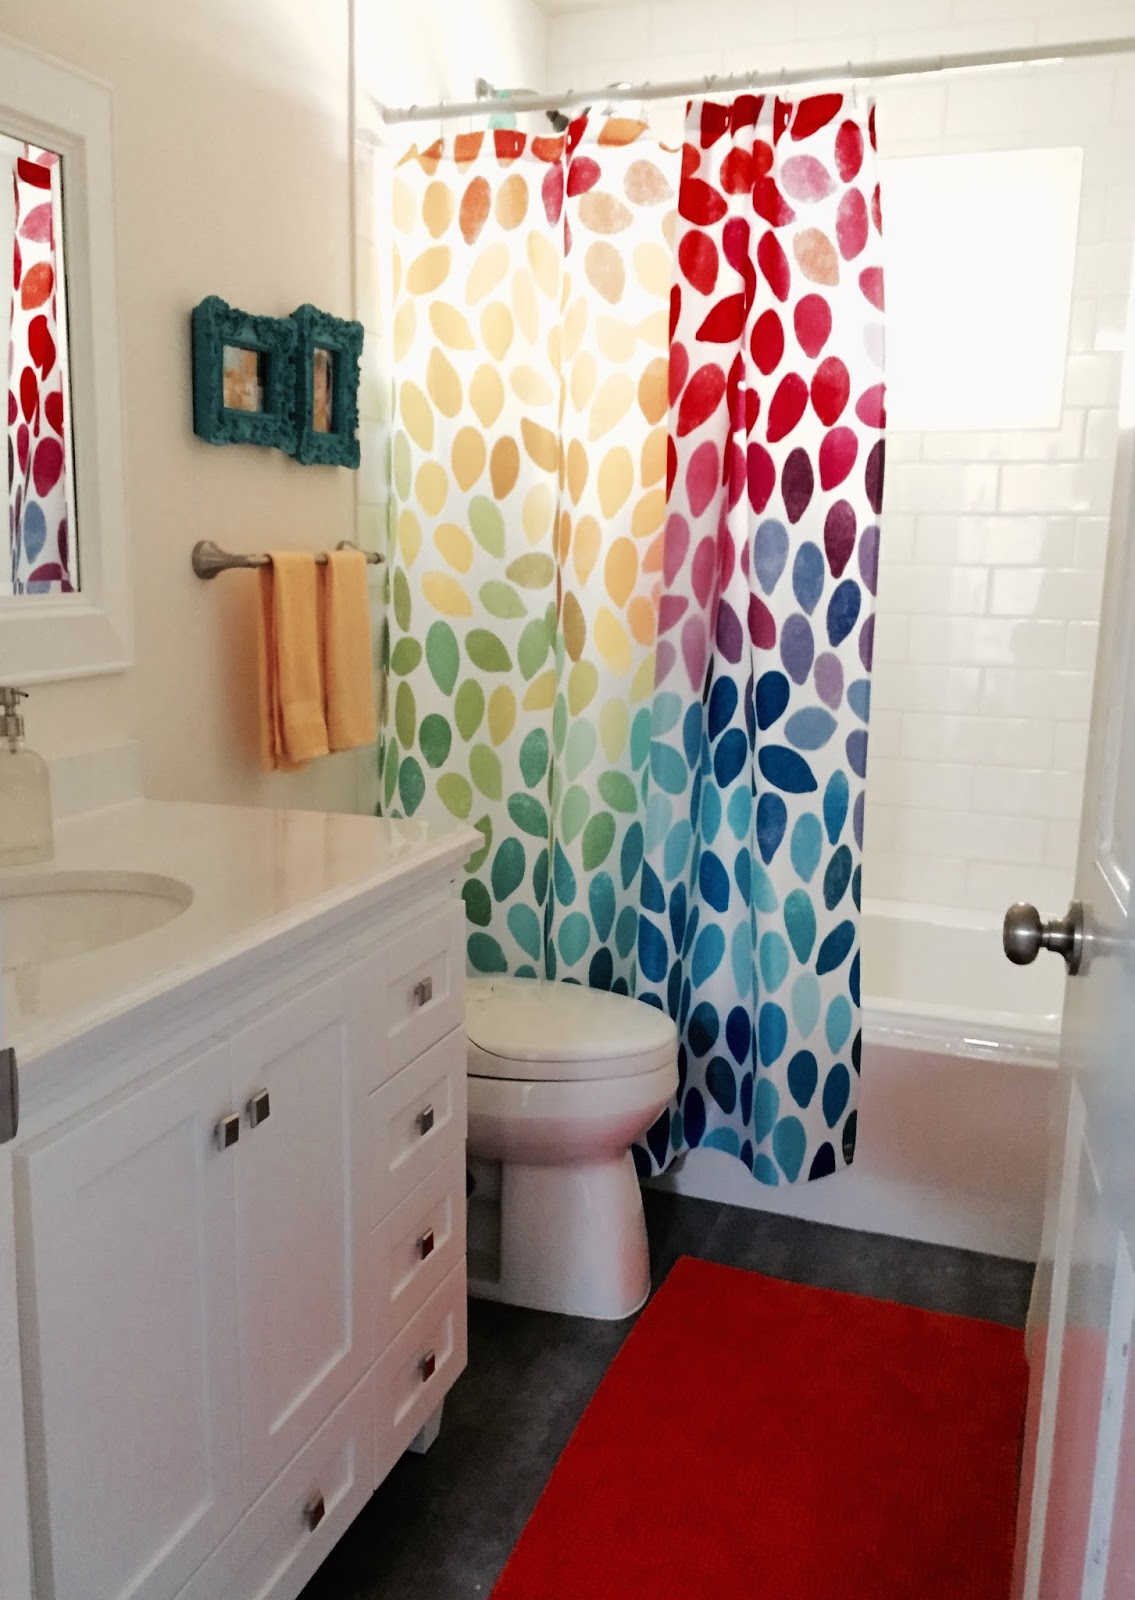
Then it was time to add some color! Since I held back on adding any color to the more "permanent" aspects of the room, it was time to let loose and bring in some bold hues!

I already had the monogramed green towels (a generously homemade gift from a friend). So I used those as a springboard for creating a pallet.
To "help" kids remember to hang up their towels, we used hooks in the place of traditional towel racks.

Because it had the green I was looking for, and a variety of other colors too, I went with this shower curtain. It was a little bit of a gamble, buying it online (site unseen). But, overall I am happy with how it looks. This one was my second choice! I still love it too :)

Then I added a pop of color to the floor with this inexpensive orange rug.
I already had the turquoise photo frames (from Target) and I took another gamble on the luxurious yellow towels by buying them online. Online shopping is a mother's best friend!

I already had the monogramed green towels (a generously homemade gift from a friend). So I used those as a springboard for creating a pallet.
To "help" kids remember to hang up their towels, we used hooks in the place of traditional towel racks.

Because it had the green I was looking for, and a variety of other colors too, I went with this shower curtain. It was a little bit of a gamble, buying it online (site unseen). But, overall I am happy with how it looks. This one was my second choice! I still love it too :)
Then I added a pop of color to the floor with this inexpensive orange rug.
I already had the turquoise photo frames (from Target) and I took another gamble on the luxurious yellow towels by buying them online. Online shopping is a mother's best friend!
I was a little disappointed that they weren't as vibrant as I thought they'd be. But still, it was better than dragging three small children through countless stores!
Overall, we are quite happy with the end result, and hope to enjoy it for many years to come. Stay tuned for future updates and changes to the decor. Happy house fixing!

Thanks for stopping by!
Linking up to these fun parties:
http://livelaughrowe.com/bakers-gonna-bake/
http://www.artsyfartsymama.com/2015/07/artsy-fartsy-link-party-5.html
http://staceyembracingchange.com/2015/07/30/creative-inspirations-linky-party-148/
http://bloomdesignsonline.com/2015/07/lovely-little-link-party-37.html
http://www.posedperfection.com/2015/07/creative-ways-link-party-64-and-features_29.html
http://www.elizabethandcovintage.com/2015/07/be-inspired-features-and-link-party-171.html
http://www.shabbynest.blogspot.com/2015/07/frugal-friday_30.html
http://www.simplysweethome.com/2015/07/friday-favorites-week-279-with-decor-makeovers/
http://chiconashoestringdecorating.blogspot.ca/2015/07/flaunt-it-friday-266.html
http://www.oneprojectcloser.com/creativity-unleashed-link-party/
http://www.justusfourblog.com/2015/07/pinworthy-projects-party-110/
http://thecharmofhome.blogspot.com/2015/07/home-sweet-home-231.html
http://www.dianarambles.com/2015/07/pin-me-linky-party-148.html
http://romantichome.blogspot.com/2015/07/summer-fun-show-and-tell-friday.html
http://lovegrowswild.com/2015/07/the-inspiration-gallery-23/
http://madincrafts.com/mad-skills-party-270/
http://www.thegirlcreative.com/link-party-diy-inspired-7/
http://www.sewcando.com/2015/08/share-your-crafts-its-craftastic-monday.html
http://www.thecasualcraftlete.com/2015/08/02/frugal-crafty-home-blog-hop-138-2/
http://www.flourmewithlove.com/2015/08/mix-it-up-monday.html


