google-site-verification: googlef2ba99a3ab5aecea.html
Showing posts with label Kitchen. Show all posts

Wednesday, September 24, 2014

Canned Applesauce Tutorial


It's apple season! We live in the land of Martinelli's. There are apples everywhere! Neighbors, friends, and even our own front yard, have have all been gifting us with lovely apples. Now the question is... 

What the heck do I do with all of these apples?
Enter, a comfort food classic: 
Applesauce


I was so fortunate to receive fresh from the orchard apples. All in all, my newly acquired apples filled a 5 gallon bucket! I knew there was no way we could eat them all in time, so I decided to try preserving them by canning applesauce.


Canned Applesauce Tutorial

First things first, you need to wash and dry all of your canning equipment. You can use canning stuff like this. Or just use a cheaper version like the one I use and your own large pots.
I like to use mason jars, any kind will do.


Load jars and lid rings in the dishwasher and run it through a cycle. Wash on hot, and be sure to use a heated dry setting too. We want to kill any junk that could be living on there. While that's running, use the time to prep you apples.


The experts recommend mixing at least 2 different types of apples. Also (for some reason) tart apples (like Granny Smith, usually used for pies) aren't recommended. I used a bunch of different kinds of apples, I have no idea what they were. Some were red, some green, and some reddish green. Some may have even been Granny Smith, but, oh well. Applesauce is a forgiving creation!
I did a lot of research, and found that some people insist on peeling their apples first, and other people don't peel them at all. So, I decided to do a little of both. Since we'll be pureeing them all later, a little peel in the mix won't really matter.


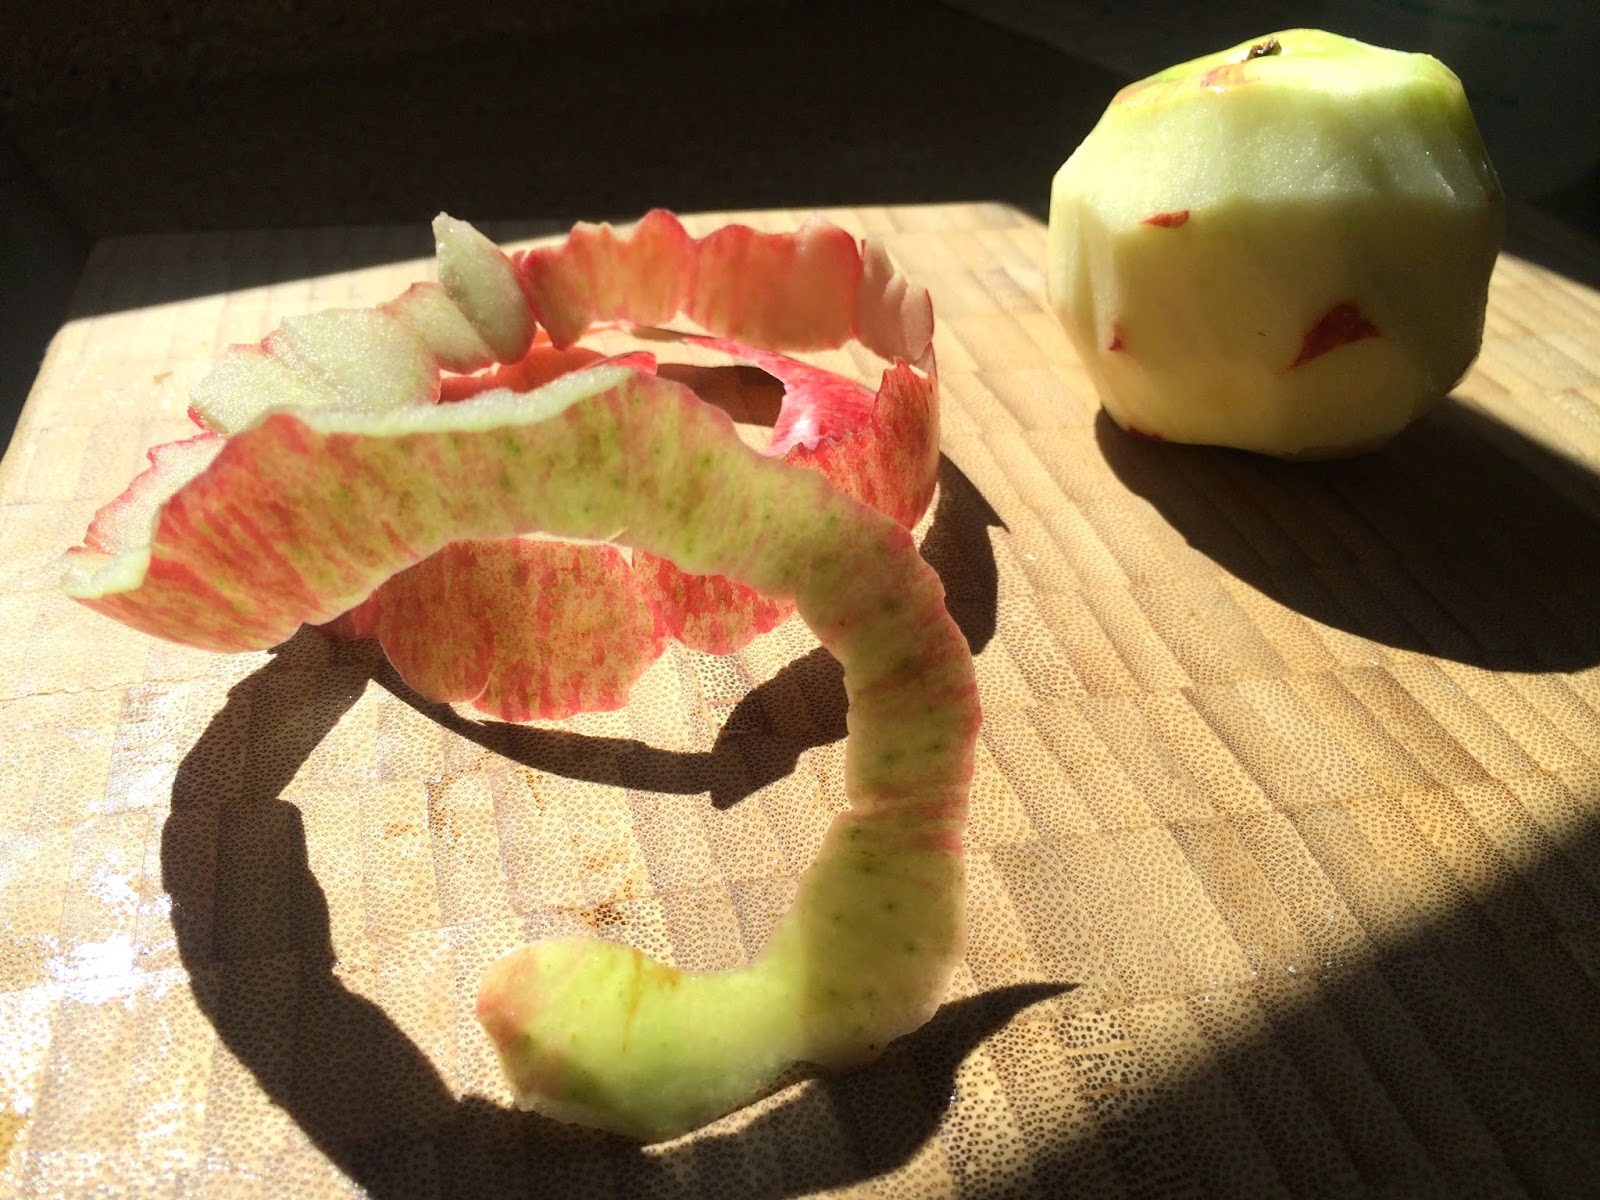
I peeled a little over half of the apples, and I did a better job with some than with others. Whoops. But, I have to say, there is something so satisfying about mastering the one-piece spiral peel! Hurray, i'm an apple peeling master!
Then I cut the core out of them, and cut the rest roughly into quarters. If you have one of those cutting/ coring doohickies this job would go a lot faster.


*Side Note* 
Some of the apples I cut a crosswise section (about 1/4" to 1/8" wide) to use for a subsequent decorating project (a dried apple garland). This step is not necessary, but can be a fun side project since you have so many apples handy. See the full tutorial here


Back to the apple sauce... You can cook your apples in a slow cooker, or in a large stock pot on the stove.


Since I had so many apples, I decided to try both. I filled the slow cooker with cut apples, a little lemon juice (to prevent browning), and about 2 cups of water. Then I turned it on high.


Next, I filled my biggest pot with cut apples, about 2 cups of water and a few dashes of lemon juice. Once it began to boil, the pot method worked much faster.


After about 5 minutes boiling in the pot, my apples were soft and mushy (some recipes say this can take anywhere from 5-20 minutes).

Next, you need to sterilize the jar lids. Completely submerge the lids in a pot of water and boil them for 10 minutes. Leave them in the warm water until you are ready to use them.


Then, I removed my apples from the heat, and strained them in a fine mesh strainer. Most recipes omit this step, but I wanted to be sure that I didn't end up with watery applesauce.

It's a good idea to further sterilize your jars too. Submerge them in a pot of water and bring to a rolling boil. 


While those are heating up, it's time to blend baby blend!
For this step you can use a blender (be sure to leave room for heat expansion!), a food processor, or something called a "food mill" (I'm not familiar with this one, but everyone says you can use it).


I opted for the food processor. Fill it about 3/4 full of cooked apples and blend until you reach your desired consistency. You can leave it a little chunky, or blend it until it's smooth.


Since I had bits of peel in the mix (as a result of the above stated peeling laziness) I opted for a velvety smooth texture.


Next, using a jar lifter or tongs, remove your jars from the boiling water and put them on a heat proof surface. I use wooden trays, but you could even just lay down a few dish towels and put them on those.


Return all of the blended apples to a large pot and gather additional ingredients and supplies:

-Lemon juice
-Canning equipment like this (or the one I use this) or tongs
-Optional Ingredients: Sugar, Brown sugar, Spices (like Cinnamon, Allspice, Ginger, Nutmeg etc.)

Real lemon juice is not optional. The acidity helps with the preservation process and adds a nice tart flavor. For this large batch I used about 9 tablespoons of lemon juice. It might have been overkill, but I'm a little paranoid about safety.


Then I opted to add about a cup of brown sugar and a cup of white sugar. This is completely optional. But I wanted mine to be full of sweet goodness, so I went for the calories. I also read a tip about adding butter, so I tossed in a couple tablespoons of that too. Yum, fatty goodness!

Bring your applesauce to a boil, stirring often or even constantly. But watch out! Keep a lid handy. Once this stuff starts to boil it goes everywhere. I had globs of applesauce land as high as the fan above my stove! Cover it, quick.


Leave it on low heat and begin to fill your jars. A funnel isn't necessary, but it sure does help! Ladle jars full of applesauce, leaving 1/2 inch of "head room" (empty space) just bellow the rim.

*Variation* When I had about half of the jars filled, I decided to add spices to the remainder of the applesauce. That way I ended up with 2 versions, a mild "kid friendly" blend of plain applesauce, and a spicier adult version.
For the spiced applesauce I added generous amounts of cinnamon, ground allspice, ground ginger, ground cloves, nutmeg and several dashes of white pepper (to give it some kick).


Once all of you jars are full, run a rubber spatula, or the tool that comes with your kit, around the edges of each jar a few times to release any air bubbles. Trapped air can interfere with the preservation process.


Wipe edges and rims clean using a damp paper towel or a clean damp dish towel. Any left over apple residue can interfere with the seal later.


Wash your hands! Then using the magnetic tool, or tongs, remove the round lids from the pot of water and place them on the top of your jars. Be sure to line them up correctly. 

Then screw on the bands, but not too tight. Just until you feel resistance. 

Place your jars of canned applesauce in large pots for processing.


Fill the pots with enough water to cover the jars by at least one inch. Place the pots back on the stove. 


Bring water to a full rolling boil.


Once they begin boiling, set timer (or watch the clock) and boil them for a full 20 minutes. This will seal the jars.


Turn off the heat and let the jars sit in the water for 5 minutes. Then using your jar lifter of tongs, gently remove jars from water and pace on a heat proof surface to cool. 

At some point now you will begin to hear the satisfying "pop" of the lids sealing. I love that sound; it's so delightful!
You may not hear it until they have been sitting out for a while, that's ok too.

Let jars cool for 24 hours, and check each one for a seal.


Checking for a seal: The little bump on each lid should have flattened out, and you shouldn't be able to push it down.


One thing I've noticed is that after processing there is a dingy film left on my jars. It might just be because our water has a high mineral content. But, whatever the reason it isn't pretty.
So, to clean it off I usually just wet a rag liberally with white vinegar and wipe them off.
*Note: I use white vinegar to clean everything! It's so handy, cheap, chemical free and leaves all surfaces sparkling clean!


As you can see in the photo a good cleaning can drastically improve the appearance of your processed jars. They are much better for gift giving! 

I was surprised that a 5 gallon bucket full of apples didn't yield more applesauce. It cooked down and condensed quite a bit. 

5 Gallons of Apples

The last step is to find some cute labels, and decorate the jars of canned applesauce however you wish, For giving gifts sometimes I like to tie a ribbon or a piece of jute twine around the jar.


Then arrange them, take pretty pictures, brag on your blog about your creation (tell me about it!), and enjoy!


Store your canned applesauce in a cool dry place, for up to 2 years. 

Thanks for stopping by!


Linking up to these great parties:

Tuesdays
http://www.tinysidekick.com/makers-link-party-37/

http://www.pintsizedbaker.com/2014/09/two-cup-tuesday-no91.html


Monday, September 1, 2014

Budget Kitchen Remodel


Welcome to our new home!


When we bought this house six months ago, I was excited to make a lot of changes.  And, because it really the heart of the home, the first room that I chose to tackle was the kitchen. 

Because we were working on a modest budget, I had to made careful choices.  My goal was to implement low cost changes that would simultaneously make a big impact. 


hayley brentmar
DIY kitchen flip


All in all, it took about two weeks to complete the kitchen re-do that you see in the photo above.  But, I also had 3 small children underfoot.  So, if you are working without "distractions" then you will likely be able to utilize the following ideas to make even faster changes.

The first steps in my process:

- Remove old the wallpaper
- Remove an unnecessary door
- Repaint the dated oak cabinets


Before


During


Removing Wallpaper

A friend of ours walked into this kitchen (pictured above) and exclaimed: "It looks like Debbie Gibson threw up in here!"  

We had to agree!  One of the main culprits causing the "frozen in the 80's" motif was the unfortunate wallpaper.  It had to go!

Wallpaper can be tricky to remove.  Depending on the type of paper used, and the original adhesive method, you may be able to pull it all off in one sheet. Or, you may find that you need the scrape it off.  I had to do a little of both.

The best method for removing wallpaper is as follows:

- First, pull off anything you can using just your hands.  Luckily I was able to get most of the top layer off this way.  Look for loose pieces at the seams and gently pull the paper in a downward motion.

- Second, make a mixture of 2 parts hot water, 1 part liquid fabric softener, and 2 parts white vinegar.


- Third, protect your floors with a drop cloth, then use a rag to liberally apply the mixture to the paper that you wish to remove. 

- Lastly, after letting the mixture sit for a few minutes, use a paint scraper to scrape off any remaining glue and paper.


We also removed a door that didn't seem to serve much of a purpose. This helped to open up the spce and create a flow into the adjoining rooms.

Next, I used paint to update the original to oak cabinets.  Often times you can easily update a kitchen by simply painting the cabinets or even replacing just the cabinet doors. 


Painting Cabinets

For this job I used my favorite go-to paint, Annie Sloan Chalk Paint.  Purchasing this paint can seem like a big investment at first, but a little goes a long way.  It only took 3 quarts to cover the entirety of the cabinets in my kitchen (2 coats).


But, perhaps what I love most about this paint is the fact that you don't need to do any prep work.  You can literally just slap right onto any surface!  I don't even bother to clean the grime off first.  It adheres to anything beautifully.


Then, knowing that with little kids in the mix, my kitchen would likely see some heavy use, I roughed up the corners and edges of the cabinets with a sanding block.  I knew that doing this would make any future dings look like an intentional part of the patina.


I also used the same brand's clear wax after the paint dried to increase the strength and make the color richer.  If you prefer a completely matte finish, you could also leave your cabinets unwaxed.

I am fortunate to have a store in my town that carries this paint.  But, if you don't have a local vendor, you can also buy it online.


Painting the Walls

After removing the wallpaper, and completing the cabinet makeover, it was time to paint the walls. 
 
There was an interesting paint job hidden under the wallpaper (circa 1972!).

70's stripes!


I used my favorite go-to paint color for this room: Benjamin Moore, Ivory White #925.  

Ivory White is the perfect warm white, and it literally looks good with everything!  Your local paint store should be able to look it up and mix it for you.  Just provide them with the brand name, the color name and the number.


After, Wall Paint


Organization

As a delightful added detail, and to help others find their way around my kitchen, I also painted the inside of the cabinets with two layers of chalkboard paint.

Chalkboard paint (on the interior of the cabinet) doors will allow you to label each cupboard's contents, and provide an element of whimsy to the space.  Then, if you decide to rearrange, a simple damp cloth easily removes the chalk. 


*Note: "Chalkboard" paint is different than "Chalk Paint"


Chalkboard painted cabinet doors


Countertops and Backsplash

Like almost everything else in this house, the old laminate countertops were pink!  They were worn, and not attractive. 


Countertop; before


I would have loved to replace the counter entirely, but that wasn't in the budget.  So instead I used a product called RustOleum Countertop Transformations to cover the old pink laminate.  


I used "desert sand."  It is light, but also had flecks of black.  These dark black specs tied in nicely with the new black cabinets.  I used 2 "small" sized kits to complete my counters. 

The countertop was a MESSY job.  Those little flecks are individual chips, that go everywhere.  So, have a good vacuum handy!

The backsplash was made of ugly off-white tile and dark grout.  Again, a new backsplash wasn't in the budget, so I just painted it using Rustoleum Tub and Tile paint.  This product was a little runny, and tricky to use. However, it was worth the hassle because changing the tile and grout to bright white really helped the overall aesthetic of the space.


If you use this product, please be sure to ventilate the area well.  It has strong fumes!


Backsplash; before


After


Floors

The floor was made of (stained) old linoleum that had a pink flower pattern. 

So, working with our small budget, we simply covered the old linoleum with peel and stick black and white squares.


We ordered ours from this eBay seller.  This product was very inexpensive, and relatively easy to install.  All that you really need is: a clean floor, a ruler/ straightedge and a box-cutter (for trimming corners). 


Floor; after


Lighting

Getting rid of old florescent lighting is crucial.  Florescent light creates an unflattering cast and dates a space.  Spaces need flattering lighting to live up to their full visual potential.


Lighting, Before


We removed the old plastic panels, painted the oak trim white, and rewired for standard light fixtures. I chose inexpensive chrome fixtures, and we installed them in the recess (where the florescence had been). 

It made a world of difference!


Lighting, After


We also added strips of LEDs under the cabinets. Under cabinet lighting warms up a space, and adds added interest.  Also, because they are LEDs these lights hardly use any power.

Under cabinet LED strip lighting


Details

After all the hard work was done, the really fun part began. I love the color, so to give the black and white some pop, I chose red accents. 

3 pops of red


Most of the items that you see in these photos I found for at discount stores, on clearance racks or on overstock.com


Vintage curtain tie-back towel holder


Fresh flowers and a retro inspired clock add charm.


Clearance rack faucet


Red counter height stools liven up the space and allow the countertop function as additional dining space.


When displaying decorative items, use the"rule of 3's."  For a pleasing visual impact, it is always best group odd numbers of items together.  So, groups of three are particularly pleasing to the eye.


Odd number grouping


Another pleasing display method can be to use a collection of similar colored items.  I used my collection of white ceramics and milk glass. We removed the cupboard doors above the refrigerator in order to have open shelving to display this collection. 


"Splurges"

With the money we saved, we were able to spend on a few high cost items.  So, we chose to replace the dated appliances with new stainless steel models.

Dishwasher and sink, Before


After

I'm used to a gas stove, and at first contemplated running a gas line. But cost was an issue so we stayed with electric.  I love how easy it is to clean the new glass top!  


Range; before


After

The final splurge was on hardware.  

Hardware can be purchased relatively inexpensively.  But, I fell in love with the retro style handles and drawer pulls available through Rejuvenation Hardware (note: this is different than Restoration Hardware).  This company specializes in creating replicas of vintage items.  I'm in love with all of their products!


New hardware


Overall I am extremely pleased with out new kitchen!


Before


After


Before


After


Thanks for stopping by!


I also completely remodeled the kitchen in our first home.  Here is the link to my post detailing that project: 

Click here: Retro Kitchen Redo


Linking up to these parties:
http://www.tipjunkie.com/post/diy-decorating-add-yours/
http://funkypolkadotgiraffe.blogspot.com/2014/09/too-cute-tuesday-linky-par-tay-202.html
http://myuncommonsliceofsuburbia.com/inspire-monday-23/
http://www.abowlfulloflemons.net/2014/09/one-project-at-a-time-9214.html
http://cornerstoneconfessions.com/2014/09/titus-2-tuesday-119.html
http://www.sugarbeecrafts.com/2014/09/take-a-look-tuesday-2.html
http://www.tinysidekick.com/makers-link-party-33/
http://thecraftyblogstalker.com/create-link-inspire-linky-party-40/
http://www.carolynshomework.com/2014/09/the-inspiration-board-creative-party.html
http://ladybug-blessings.com
http://www.notjustahousewife.net/2014/09/september-linky-party-2014.html
http://strangersandpilgrimsonearth.blogspot.com
http://www.savvysouthernstyle.net/2014/09/wow-us-wednesdays-185.html
http://thehappyhousie.com/work-it-wednesday-features-500-giveaway-2/
http://www.bacontimewiththehungryhypo.blogspot.com/2014/09/anything-goes-linky-170-and-features.html