Canning for Beginners
A step by step tutorial, with pictures.

There is a lovely old apricot tree growing in our front yard. At first we weren't even sure if it would produce fruit. But, by early summer it was covered in apricots, and it seemed like they were all ripe on the exact same day! Suddenly I had hundreds of these things!

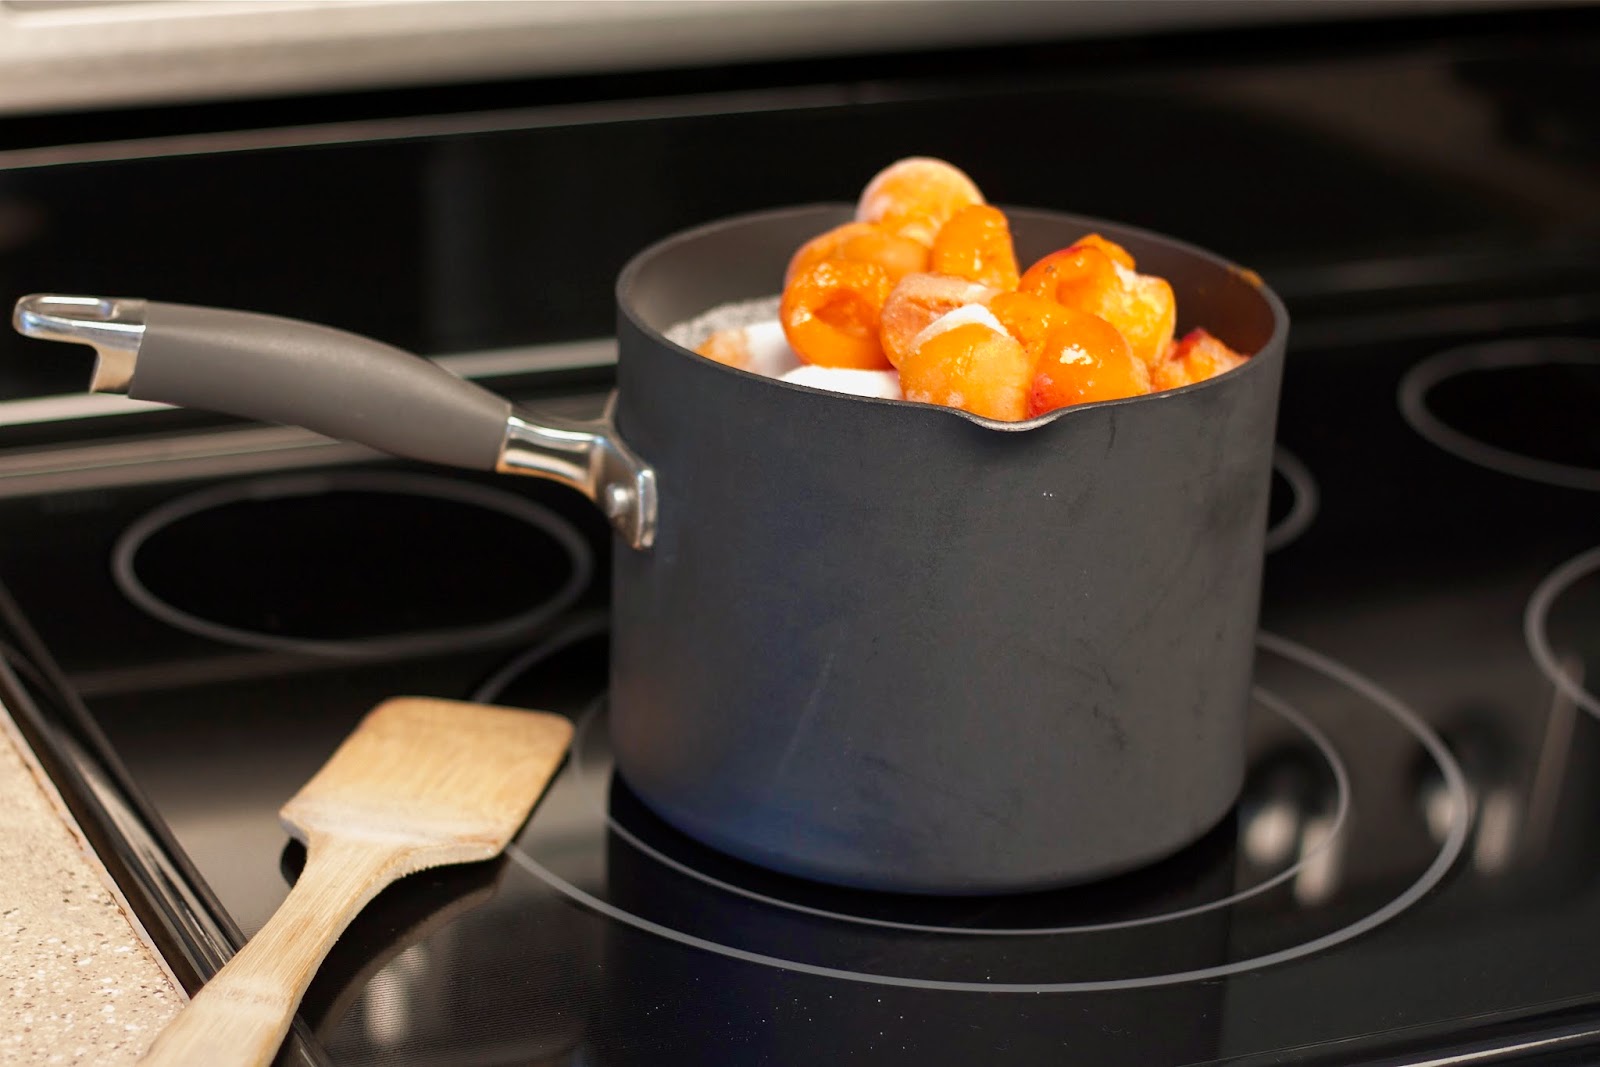
The kids had fun gathering the fruit, and shaking the tree to make the ripe ones fall. Then I took out the pits, cut them up and threw them all in the freezer. (You don't have to freeze yours if you plan to make jam right away).

I quickly decided that I was sick of not having any freezer space, and that I'd better actually do something with all those bags of apricots! So, I went to work researching, and decided to try canning for the first time.
This is a step by step guide, from a beginner, for a beginner. I've tried to answer all the questions that I had going into the process. Plus, I've even included some of the mistakes I made (so that you don't make them too!).

Supplies Needed
-Large stockpot, with lid
-Large/ medium size saucepan
-Tongs
-Glass canning/ mason jars (small enough to be submerged in your stockpot with at least 1" of water over the tops)
-Large stirring spoon
-Ladle
-Clean towel/ rag
Supplies Recommended
-Basic canning set
*You could get away without a canning set in a pinch. But it would be tricky. At the very least I recommend you also have on hand a Canning funnel and a Jar Lifter (both will come in a canning kit if you decide to purchase one, so you won't need to get these separately).
-Heat proof surface, like a wooden tray
-Extra towels/ rags
-Spray cleaner (this can be a sticky job!)

I also ordered Ball Complete Book of Home Preserving. It was helpful to read through the methods and recipes. But, if you follow the directions given in this post, then you won't need it in order to make apricot jam.
Ingredients
5 Cups chopped pitted fresh apricots
4 tbsp lemon juice
1 package (1.75 oz) powdered fruit pectin (usually in the baking/ canning aisle)
7 cups granulated sugar
Yes, that's right seven cups of sugar! If you don't want to use that much sugar, I recently got a good tip. Use the No Sugar Needed Pectin, and just add sugar to taste. This way you won't need to use as much.
*Don't Make My Mistake #1:
*Not using pectin. The book mentioned above opens with some basic jam recipes that don't use pectin. Since I didn't really know what it was, and certainly didn't have any on hand, I decided to try one of those first. Big mistake. The "jam" never gelled, and turned out more like lumpy syrup than actual jam. So, if you're a beginner, use pectin. It's a gelling agent, and will take out much of the guess work of getting jam to gel.
Let's get started!
Step 1
Prepare canner jars and lids Wash jars, lids and screw bands in hot soapy water (I just ran mine through the dishwasher). No need to dry.
Step 2
Heat the jars. Place glass jars in largest pot, cover with water. Heat to simmering. The book says to keep jars hot until you're ready to use them. My guess is that this is so they don't crack when you addd the hot jam to them. I just left mine in the pot of water.

Step 3
Prepare the closures. Set screw bands aside. Submerge lids (flat round pieces) in a small pan of water. Heat to simmering. Keep hot until ready to use.

*If all this heating and washing seems like a lot, remember that it's crucial that canned foods/ supplies are kept sterile. They need to be heated for the appropriate amounts of time, and to the appropriate temperatures. Failure to do so can result in extreme sickness, botulism and/ or bad seals.
Step 3
Combine ingredients. In a deep saucepan (the book recommends using stainless steel) combine chopped apricots, lemon juice. Whisk in pectin until dissolved.


Step 4
Bring to a boil over high heat, stirring frequently (nearly continuously). Add in sugar.
Step 5
Return to a boil. Stir constantly. Boil hard, continuing to stir for at least 1 minute.

*Don't Make My Mistake #2
*Forgetting that things expand when they get hot! Because I had so many apricots, I doubled the recipe on my first batch. Everything barely fit in my sauce pan. All was well and good... until the mixture started to boil. My pan was quickly too small to hold all the liquid. It overflowed and made a big sticky mess! So, remember to leave plenty of room for expansion, and don't overload your pot like I did (pictured bellow)!
 |
| Scrubbing this wasn't easy! |
Step 6
Remove from heat, and skim off foam.
Step 7
Preparing to fill jars. Using a jar lifter (or pair of tongs) remove jars from large pot. Dump water back into pot. You will use this pot and water again in Step 13. Place jars on a heat safe surface. I used a wooden tray. The book also suggests layering several dish towels on a counter.


Step 8
Ladle jam into jars. Place a wide mouth funnel into jar. Carefully ladle hot jam into jar. Leave 1/4" "head space" between top of jam and rim of jar. Do not fill completely to the top.


Step 9
Remove bubbles. If you have a canning set, run bubble remover thingy around inside the jar 2 or 3 times to release any trapped bubbles. If you don't have a remover thingy, then a rubber spatula or rubber bowl scraper will work just as well.


Step 10
Wipe rim. Using a clean cloth, or even a paper towel, wipe rim and threads of each jar. It is important that there isn't any jam along these edges. Any residue could interfere with the sealing process later.

Step 11
Put lids on jars. using the magnetic lid lifter (if you have one), or a pair of tongs, remove jar lids from small pan. Center and place lids on jars.


Step 12
Screw on bands. Screw on the bands until you feel resistance. Then tighten a little more. The book says they should be "finger tip" tight. It is important (for the sealing process) that the bands not be over tightened.

Step 13
Heat process jam jars. Using jar lifter or tongs, submerge jars fully into large pot of water. You will probably need to remove some of the water since the full jars will displace the water you had in the pot from Step 2. Be sure there there is at least 1" of water covering the jars. They MUST be completely submerged.
Cover with a lid and bring water to a full boil over high heat. Once the water reaches a rapid boil, begin timing. The jars need to be processed at this stage for 10 minutes. It is important that they remain in the boiling water for 10 full minutes in order to get a safe seal.

Step 14
Cool jars. Turn off heat and let stand for 5 minutes. Lift jars out of hot water without tilting, and return to heat safe surface. At this point I actually heard most of the jars seal. The inside of each lid made a small "pop" noise as the jar cooled and sealed.

Step 15
Hands off/ seal check. Allow to sit out undisturbed for 24 hours.
Then check to be sure that each jar has properly sealed. The lid should be concave in the middle, and show no signs of movement if the rim is unscrewed. Jars that have not sealed properly must be refrigerated or reprocessed immediately. (I didn't have this problem at all).
Once cooled decorate and label as desired!


I tied regular garden twine around my jars, and added labels to the lid. There are specific labels made for canning jars on the market, if you want to use those. I've seen them for sale on Amazon. I just used some general scrapbooking labels that I had on hand.
Enjoy!


This, my dear readers is going to be a rare subject on my blog. I don't really enjoy cooking. So, there won't be a lot to do with cooking, or recipes here. But, this project (almost literally) fell into my lap!
Thank you for stopping by!
linking up to: savvysouthernstyle.net wow-me-wednesday your-whims-wednesday milkandcuddles.com jaqsstudio.com awesome-link-party a-little-bird-told-me-link-party whimsy-wednesdays work-wednesday-features thewinthropchronicles great-summer-ideas make-bake-create share-your-fun-creations the-art-of-home-making-mondays homemaking-link-up http://www.pintsizedbaker.com/2014/09/two-cup-tuesday-no87.html
Hayley Brentmar

I could almost taste the apricot jam! I would say that it is probably my favorite sweet fruit in a jar. You did a great job for your fist time! I am visiting from the Homemaking Party. I also wanted to invite you to our weekly link up, The Art of Home-Making Mondays if you would like to join in :)
ReplyDeleteWe are looking for posts in the spirit of Titus 2 and Proverbs 31...
http://strangersandpilgrimsonearth.blogspot.com/2014/07/the-art-of-home-making-mondays-please_28.html
Have a wonderful week ~ JES :)
Thank you so much for the comment, and the invitation. I am exited to join this link up party!
DeleteThank you for joining us last week! I do hope you link up with the Art of Home-Making Mondays again this week :)
DeleteWhat a great tutorial! I was just thinking about making jam last week, so what great timing. : )
ReplyDeleteAnd FYI: if you have a glass stove top, don't scrub those terrible run-overs. Get a razor blade utility scraper, like this: http://www.amazon.com/Hyde-Tools-13050-Scraper-Blades/dp/B000BPEPSC/ref=sr_1_1?ie=UTF8&qid=1406935822&sr=8-1&keywords=razor+scraper
My mother-in-law uses one and it makes for SUCH quick and easy cleanup of any mess! (once it is dried, that is)
What a great tip, thank you! I spent about an hour scrubbing, but never again!
DeleteI feel very privileged to have tasted this DELICOUS jam!!! Not sure I want to share it with the rest of the family. And I am LOVING your blog!!!! Long overdue! Just now found it, so I will have to catch up on all the posts. You are so creative, I just want to soak up all of your ideas!!!
ReplyDelete